The Bathroom
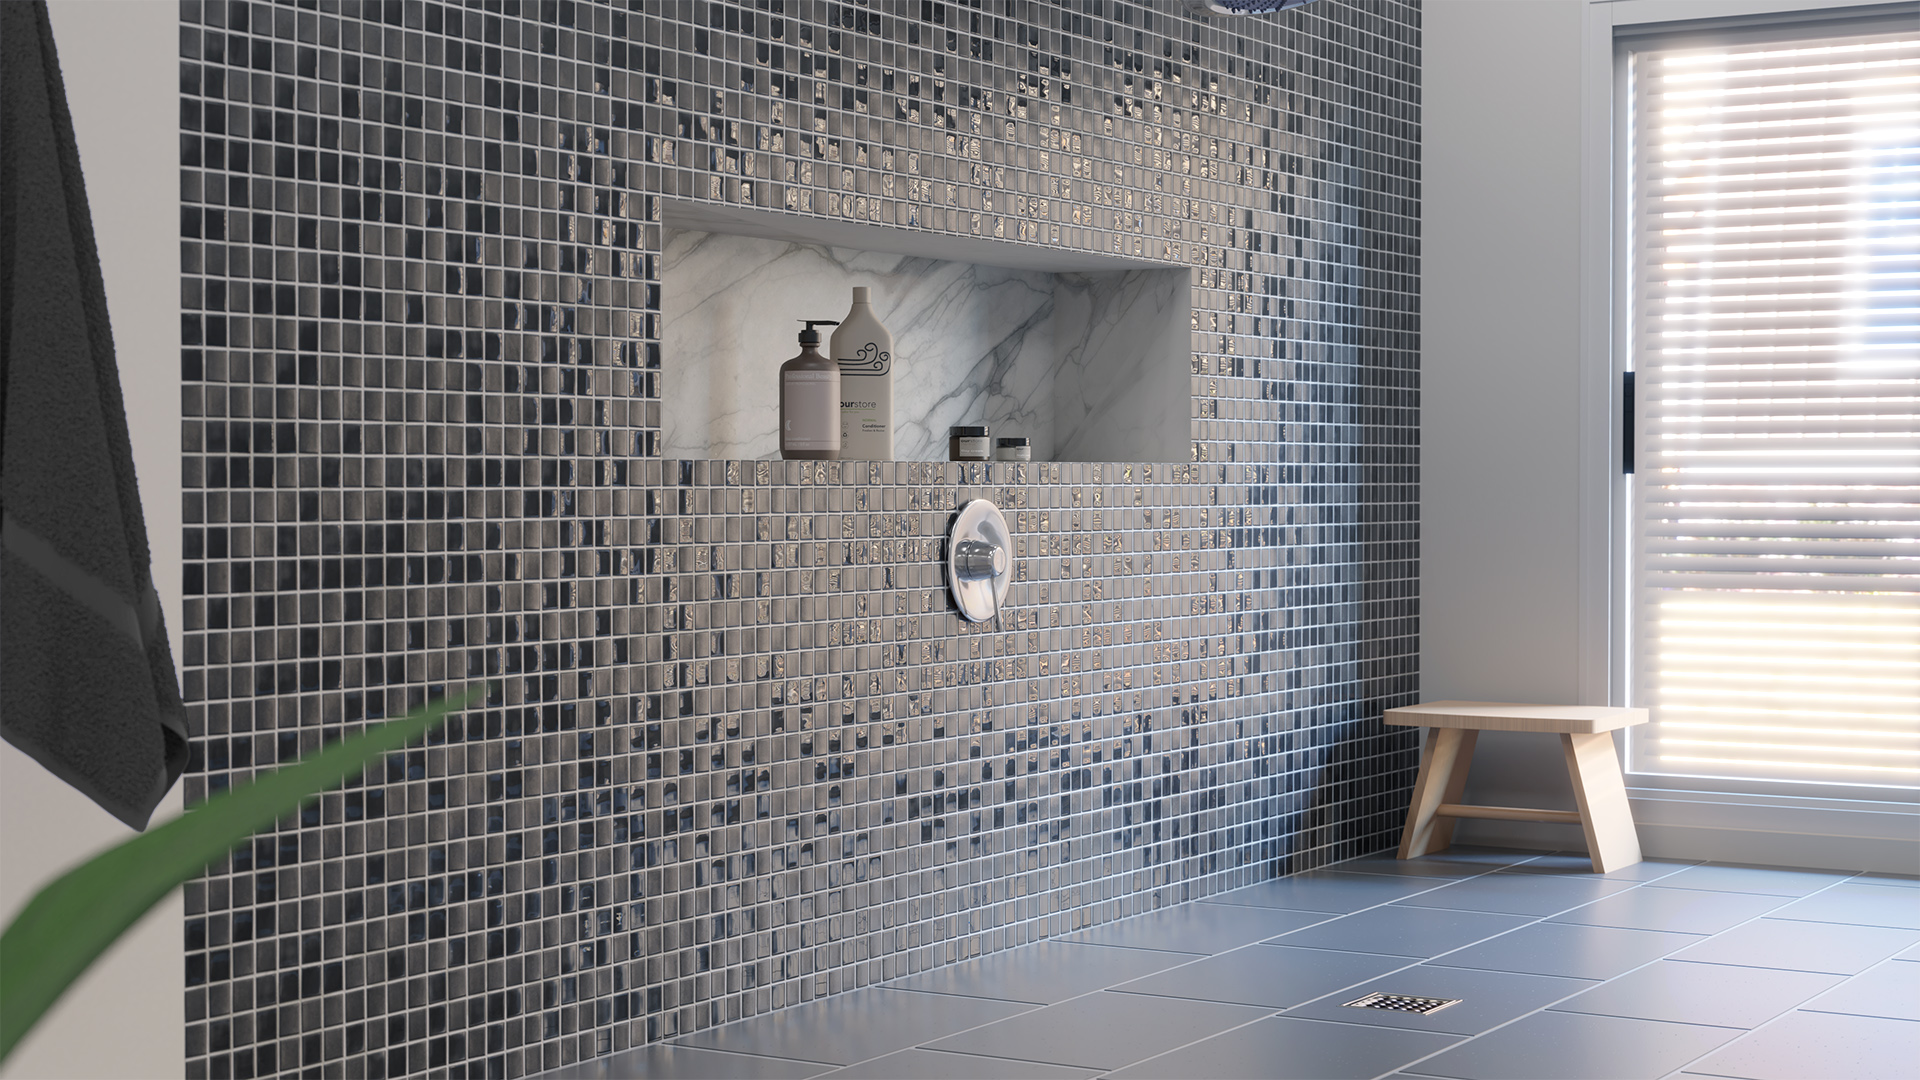
This bathroom was one of my first render using blender 2.79.
Following the tutorial made by Andrew Price from Blender guru Youtube channel. By following his tutorial, I was able to create one of my first interior renders.
Here I showcase the process screenshots and deconstruct the design decisions that I made and how it differs from Andrew’s. regrading.
Scene
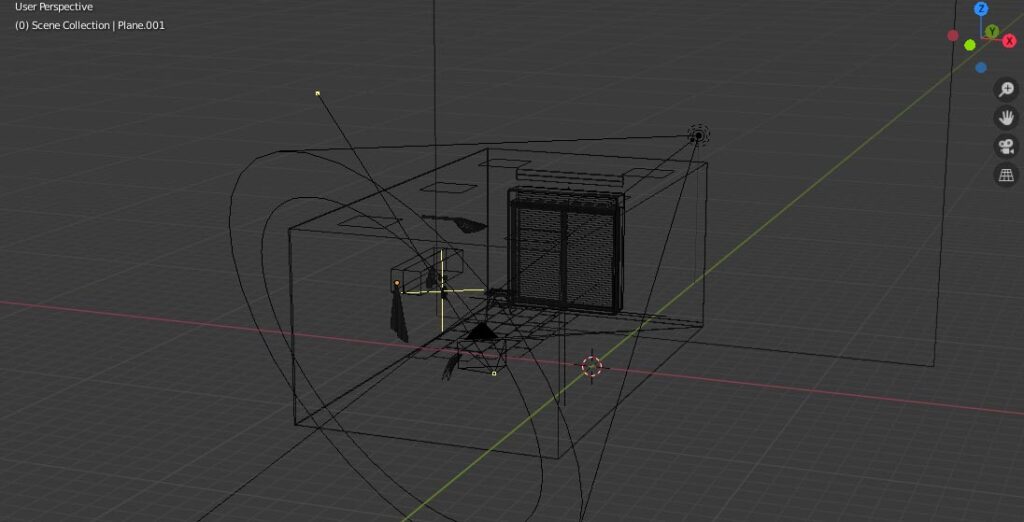
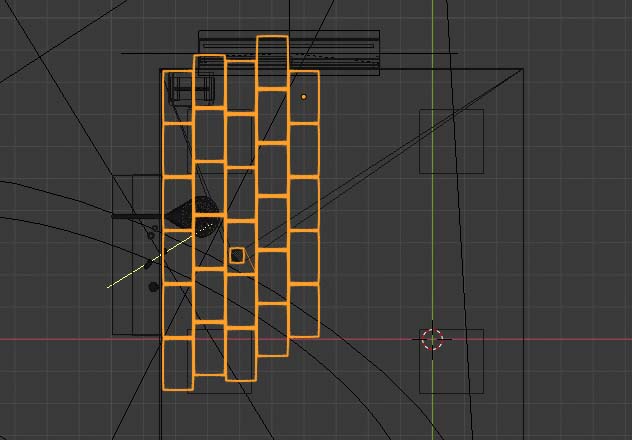
wireframe overview
Optimisations
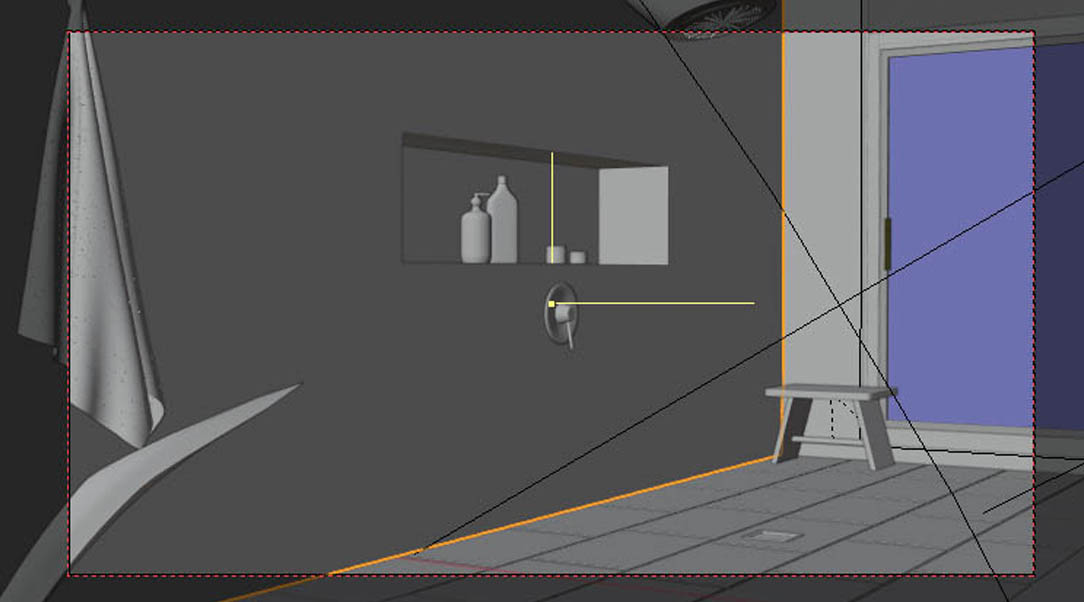
The way I did to save render time, is to eliminate the object and unnecessary items within the set, things that out of the camera or way back in the background will be rendered in a lower priority, which means I will use lower resolution texture or simply deleted them before render. The example here will be the plant leaves and floor/wall tiles. Because this is a still image render thus it is fine to delete them, it would be a different story if it was be used as an animation.
Lighting
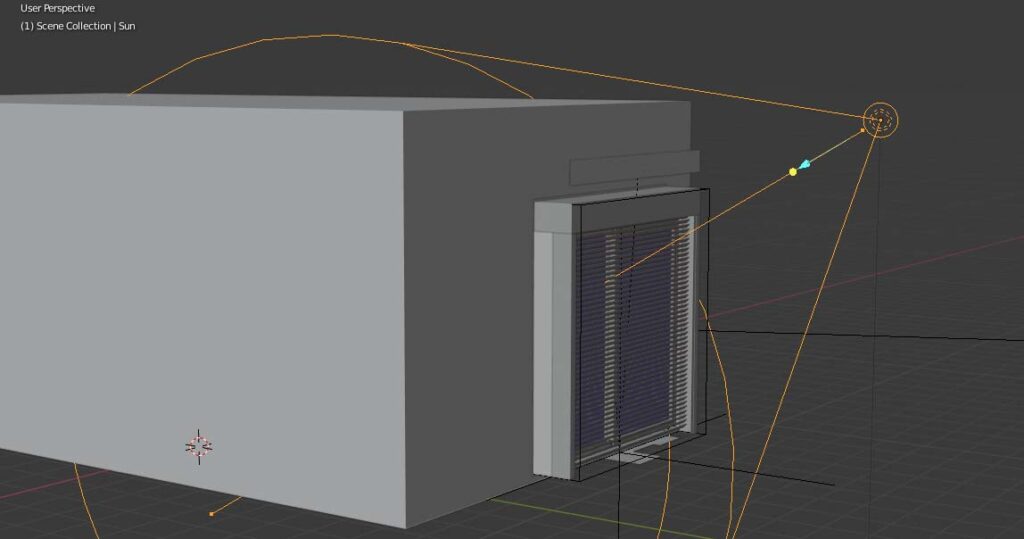
Outdoor
The lighting in this render, the outdoor light source was a sunlight. With added HDR as background, it was not really unnecessary per se, but compare to bumping up the brightness of the HDR, I found out via using sunlight can actually create a much more natural result. Therefore, In the render, I did not change the value of the HDR image but instead, playing with the sunlight.
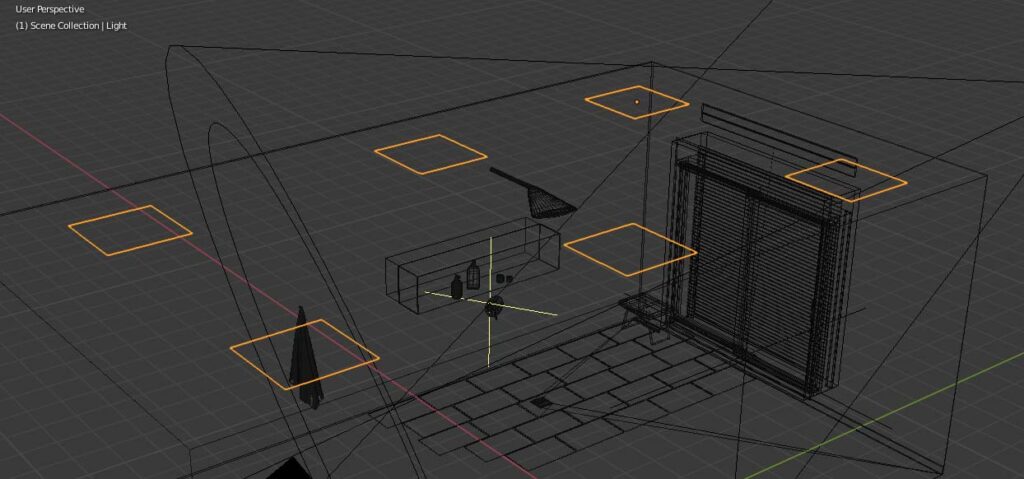
For the indoor, however, I used six overhead square lightings. The reason was there are quite a few reflective materials in this render. If I were using fewer light sources, then the highlight from those reflections wouldn’t be as shinier. Furthermore, more light sources indoor can create a well-lited environment which makes the scene and the props a bit more cohesive.
Materials
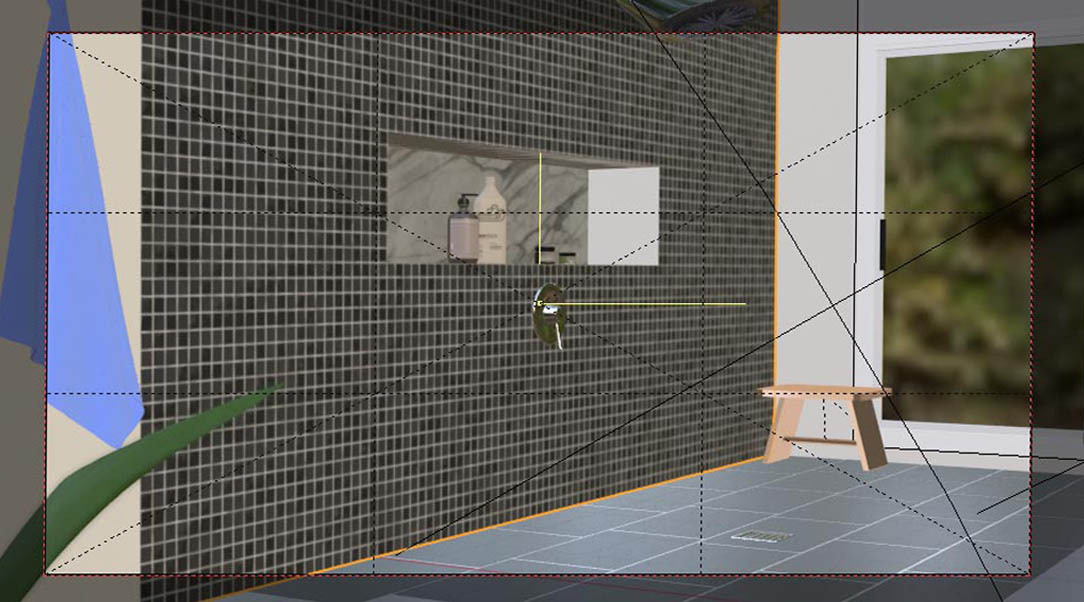
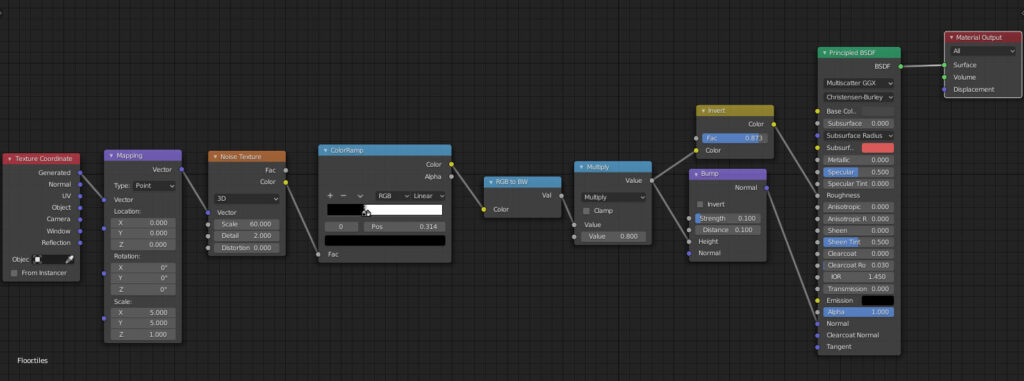
Some of the materials in this scene is procedurally generated, which means that the material itself can be modified freely to fit the requirements. And it is the first time I tried procedural materials and the power of it is beyond my comprehension, I will keep learning procedural materials as it makes the render much more customisable.
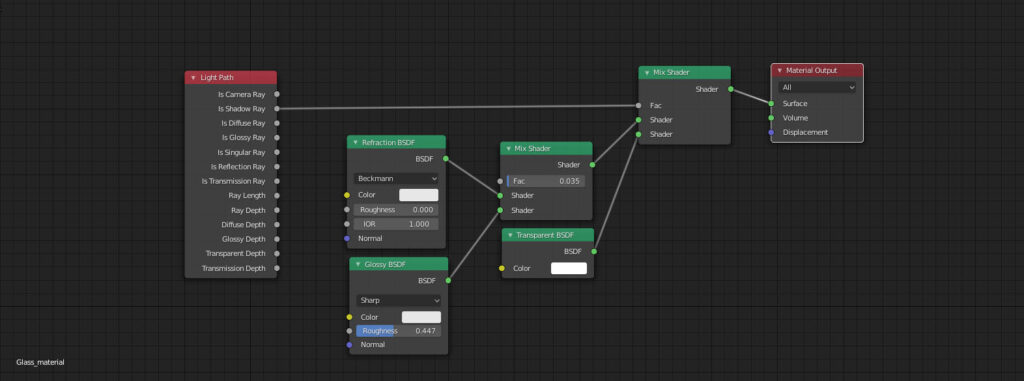
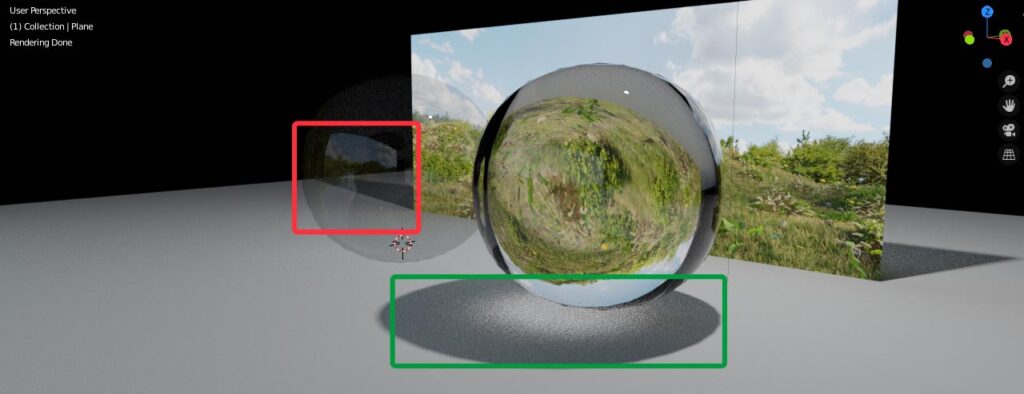
Thedifult glass materials in blender 2.79 were also quite tricky, *The screenshot was made via Blender 2.81* Because the glass’ interaction with the light ray causing the light to dim drastically. furthermore, it can create some nasty artefacts like fireflies ( bright dots in the rendered image) that hard to fix in post. So, in the community, there is a way to make the glass material looks like glass with refraction and all that good stuff, at the same time wouldn’t cause the light to dim and avoiding those fireflies. To be noticed, this is not a physically correct render, because this method is created to cheat the system to make it think that it is a glass material but in fact, it is just a transparent plane.
Comparison
PBR (Physically based rendering) shader and Cheated Glass Shader.
CC协议许可
本作品属于CC协议范围,使用及传播需要遵循许可协议。详细可查帮助中心。 This page is Creative Commons licensed. Use of content must obey the same conditions.
CC BY-SA 4.0
署名-相同方式共享 4.0 国际
署名
分享,使用本页中内容必须给出适当的署名
相同方式共享
基于本作品进行创作必须使用相同CC许可
